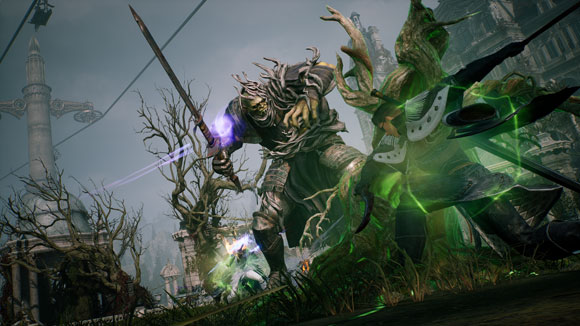
The Oracle archetype (Wand + Orb) remains one of the most reliable combinations in Throne and Liberty: a heal/DPS hybrid capable of carrying any group PvE content without ever being dead weight. It's also one of the few weapon pairings flexible enough to be respec'd toward a full DPS rotation when a group already has healing covered, which is why it keeps showing up near the top of every serious weapon ranking.
Build overview
Unlike a pure DPS, the Oracle Wand + Orb build leans into sustain: massive area healing, the ability to cover an entire raid's HP losses, while keeping enough offensive pressure to avoid being a pure heal-bot. It's a mana-management-heavy profile, but extremely reliable once mastered. The Orb's core identity is placing orbs on the battlefield that other skills interact with — heal harder, hit harder, or both — while the Wand supplies the fast, reactive tools that cover the gaps between orb placements.
Stat priorities
| Stat | Priority | Role |
|---|---|---|
| Wisdom | 1 | Max mana and healing power |
| Dexterity | 2 | Healing crit rate and crit healing |
| Strength | 3 | Max HP and defensive stats, useful in demanding content |
Healing rotation
The standard PvE healing loop starts with Starcalling to place orbs on the field, then Healing Wave (which can be triggered off Void Slash for a burst effect) delivers the first big heal. From there, Fountain of Life and Clay's Salvation keep the group topped up on a sustained basis, and Star Destroyer is folded in for extra recovery when the fight demands it. Healing Wave itself scales with the number of orbs already placed and can auto-recast when it connects with one, which is why orb uptime matters more than any single cast.
DPS-leaning rotation
When a group already has its healing covered, the same weapons can pivot into a much more aggressive skill string: Touch of Despair → Time for Punishment → Karmic Haze → Touch of Despair → Slothful Cage → Obliterating Swamp → Corrupted Obliteration (repeated up to three times). This is the rotation that shows up in most PvE DPS breakdowns for the combo, and it's demanding enough on cooldown tracking that it's worth practicing on a target dummy before bringing it into a real raid.
Defensive and support tools
- Barrier (Orb) is the build's core defensive skill, and it's cheap enough to weave into most rotations without losing much tempo.
- Guardian Defensive Wall creates a shield whose strength scales with the number of orbs already placed — another reason to keep orb uptime high even outside of healing windows.
- Time for Punishment (also called Enchanting Time) can be used proactively on DPS party members to boost their damage output, turning the Oracle into a genuine damage amplifier, not just a healer.
- Temporal Leap is used opportunistically to refresh cooldowns, and should generally be saved for moments where multiple key skills are down at once rather than used on cooldown.
Skill specializations
Two specializations show up consistently in high-end builds: Touch of Despair paired with Range Increase and Effect Duration Increase (stretches its usefulness across a wider engagement window), and Corrupted Obliteration paired with Consecutive Use and Skill Range Increase (lets it be chained more aggressively without falling off at range).
PvP variant
In PvP, the same weapon duo plays differently: stats shift toward agility to maximize critical damage, and the rotation favors mobility and targeted heals over pure group sustain. The core kit stays the same, but the priority flips — burst healing on a single focused ally and self-preservation matter more than raid-wide area heals.
Common mistakes
- Letting orb uptime drop. Both the healing ceiling and the Guardian Defensive Wall's shield strength depend on orbs being on the field — treat Starcalling as a rotation opener, not an occasional cooldown.
- Never using Time for Punishment offensively. Reserving it purely as an emergency heal wastes its damage-amplification potential on your DPS teammates.
- Sitting on Temporal Leap. Using it the instant it's up, on a single skill, wastes most of its value — it's stronger saved for a genuine multi-cooldown crunch.
Do I need to invest in both weapons at once?
Yes — the strength of this build comes precisely from the synergy between the Orb's area heals and the Wand's fast bursts. Leveling only one of the two loses most of the point of the combo.
Is this build playable solo?
It's designed to support a group. Solo, most of its healing potential goes to waste — a more offensive profile will be more effective.
Can this build fully respec into DPS?
Yes, and it's one of the reasons the combo is rated so highly — the same two weapons support both the sustain-focused healing rotation and a genuinely competitive DPS string, so a group doesn't need a second set of gear to cover both roles.